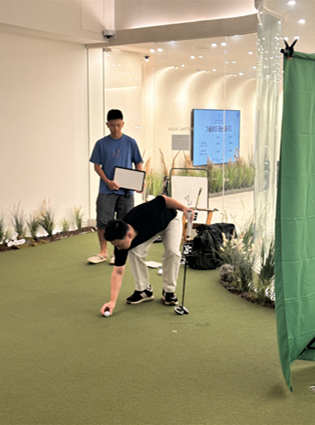
During the three trial runs, I made mock experiments to adjust camera positions, figure out Aruco marker attachments, and decide the distance of the putts. On September 21st, I carried out the official experiment.
Marker Attachment
The markers had to be fixed stable to the putter while being clearly visible from the camera. So I printed the markers and attached them to cardboard for sturdiness, which I then attached onto a metal clip. I made sure they were secured with adhesive before conducting the experiment.
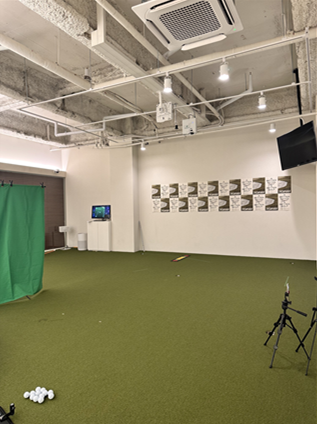
Experiment location and participation
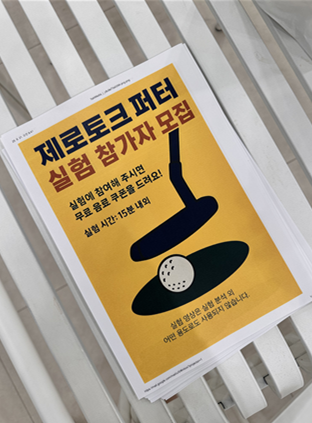
The experiment took place at a putting facility near my house that I planned to use. As it is located next to an indoor practice range, I created and distributed posters about the experiment to reach out to potential participants. To encourage this, I offered each participant a free coffee coupon.
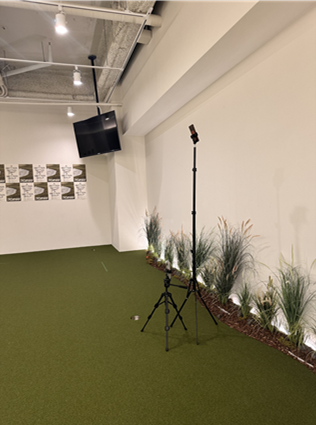
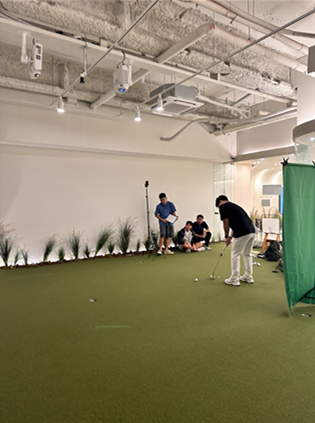
Camera setup & measurements
I used two cameras: one for the frontal view and the other for a top view, recorded at the same time. Due to physical constraints in the space we had, long-distance putts could not be conducted, so I focused on short/medium range putts instead. I made sure all putts were done by the same ball (Titleist Pro V1).
Schedule and participation results
I ran the experiment from 8am to 5pm. There were a lot less golfers in the practice range than I expected – probably because of the pleasant weather – and many were hesitant or too busy to participate. As a result, I was able to gather a total of 16 participants, although this is still plenty.